Tag: Decor

The Big Bar Mitzvah (Part 1)

This post has been a long time coming…13 years to be exact! Although I didn’t know it thirteen years ago.

My oldest had his Bar Mitzvah just over a month ago and I feel like I’ve just recovered from the big event.

He did an amazing job reading from the Torah, giving his speech to our guests, and maintaining his confidence and composure the entire day. He really shone like a star that day and was deserving of all the accolades and attention.

My job was to set the scene for our guests after the pomp and circumstance and for that I spent many months planning, plotting, “pinning” and preparing. There were so many details and so many checklists, but here, I will give you a brief glimpse into the celebration that followed the ceremony.

Our brunch began by welcoming our guests to “the cottage.”
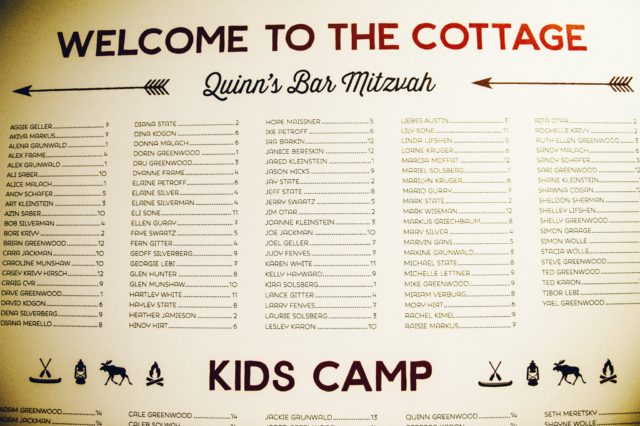
Welcome to the Cottage
This was the seating chart for the luncheon

I hired a graphic designer, gave her the guest list in a spread sheet with the table assignments along with some suggested fonts and icons and the dimensions for the foam core board. She was amazing to work with and had the poster delivered right to my front door. We simply mounted the board on an easel right inside the entrance to the reception room.

As people wandered in and found their tables, there was a slide show playing to music projected on to a drop cloth that I had hung on the wall, with patio lights framing it.  The “screen” was flanked by red plastic Muskoka chairs that were draped with wool camp blankets and throw pillows with wildlife imagery such as owls, deer and moose.

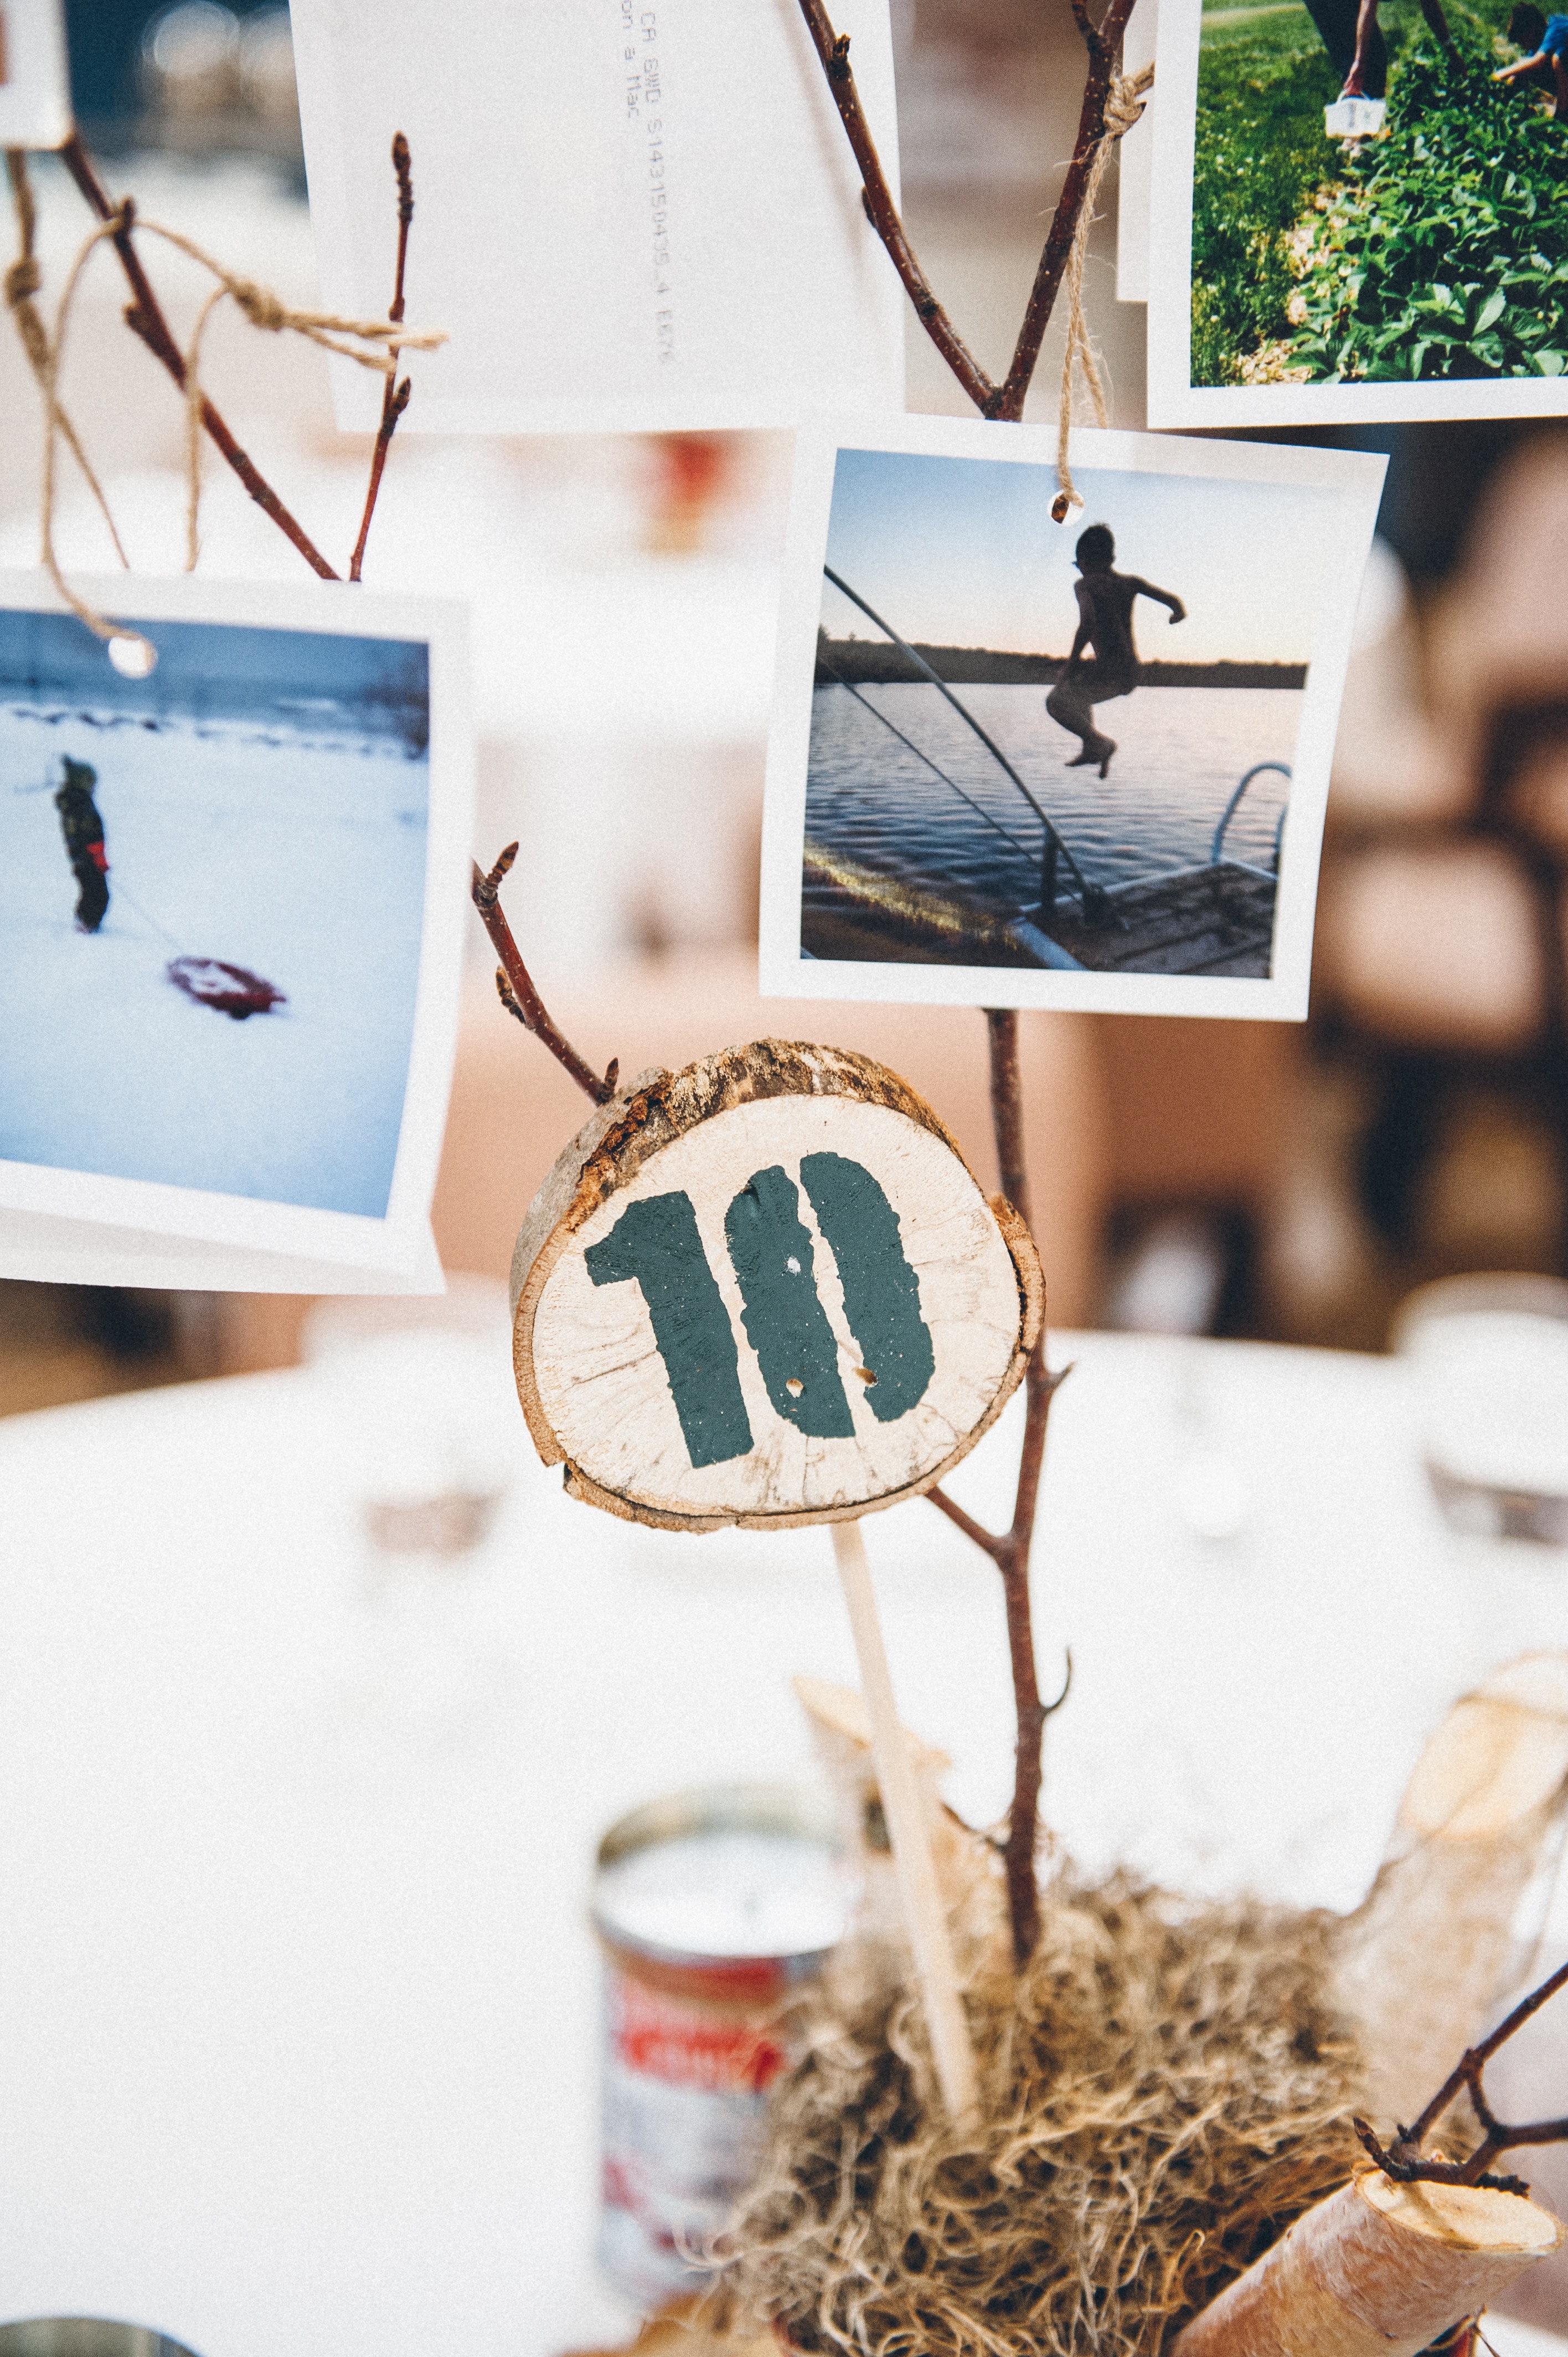
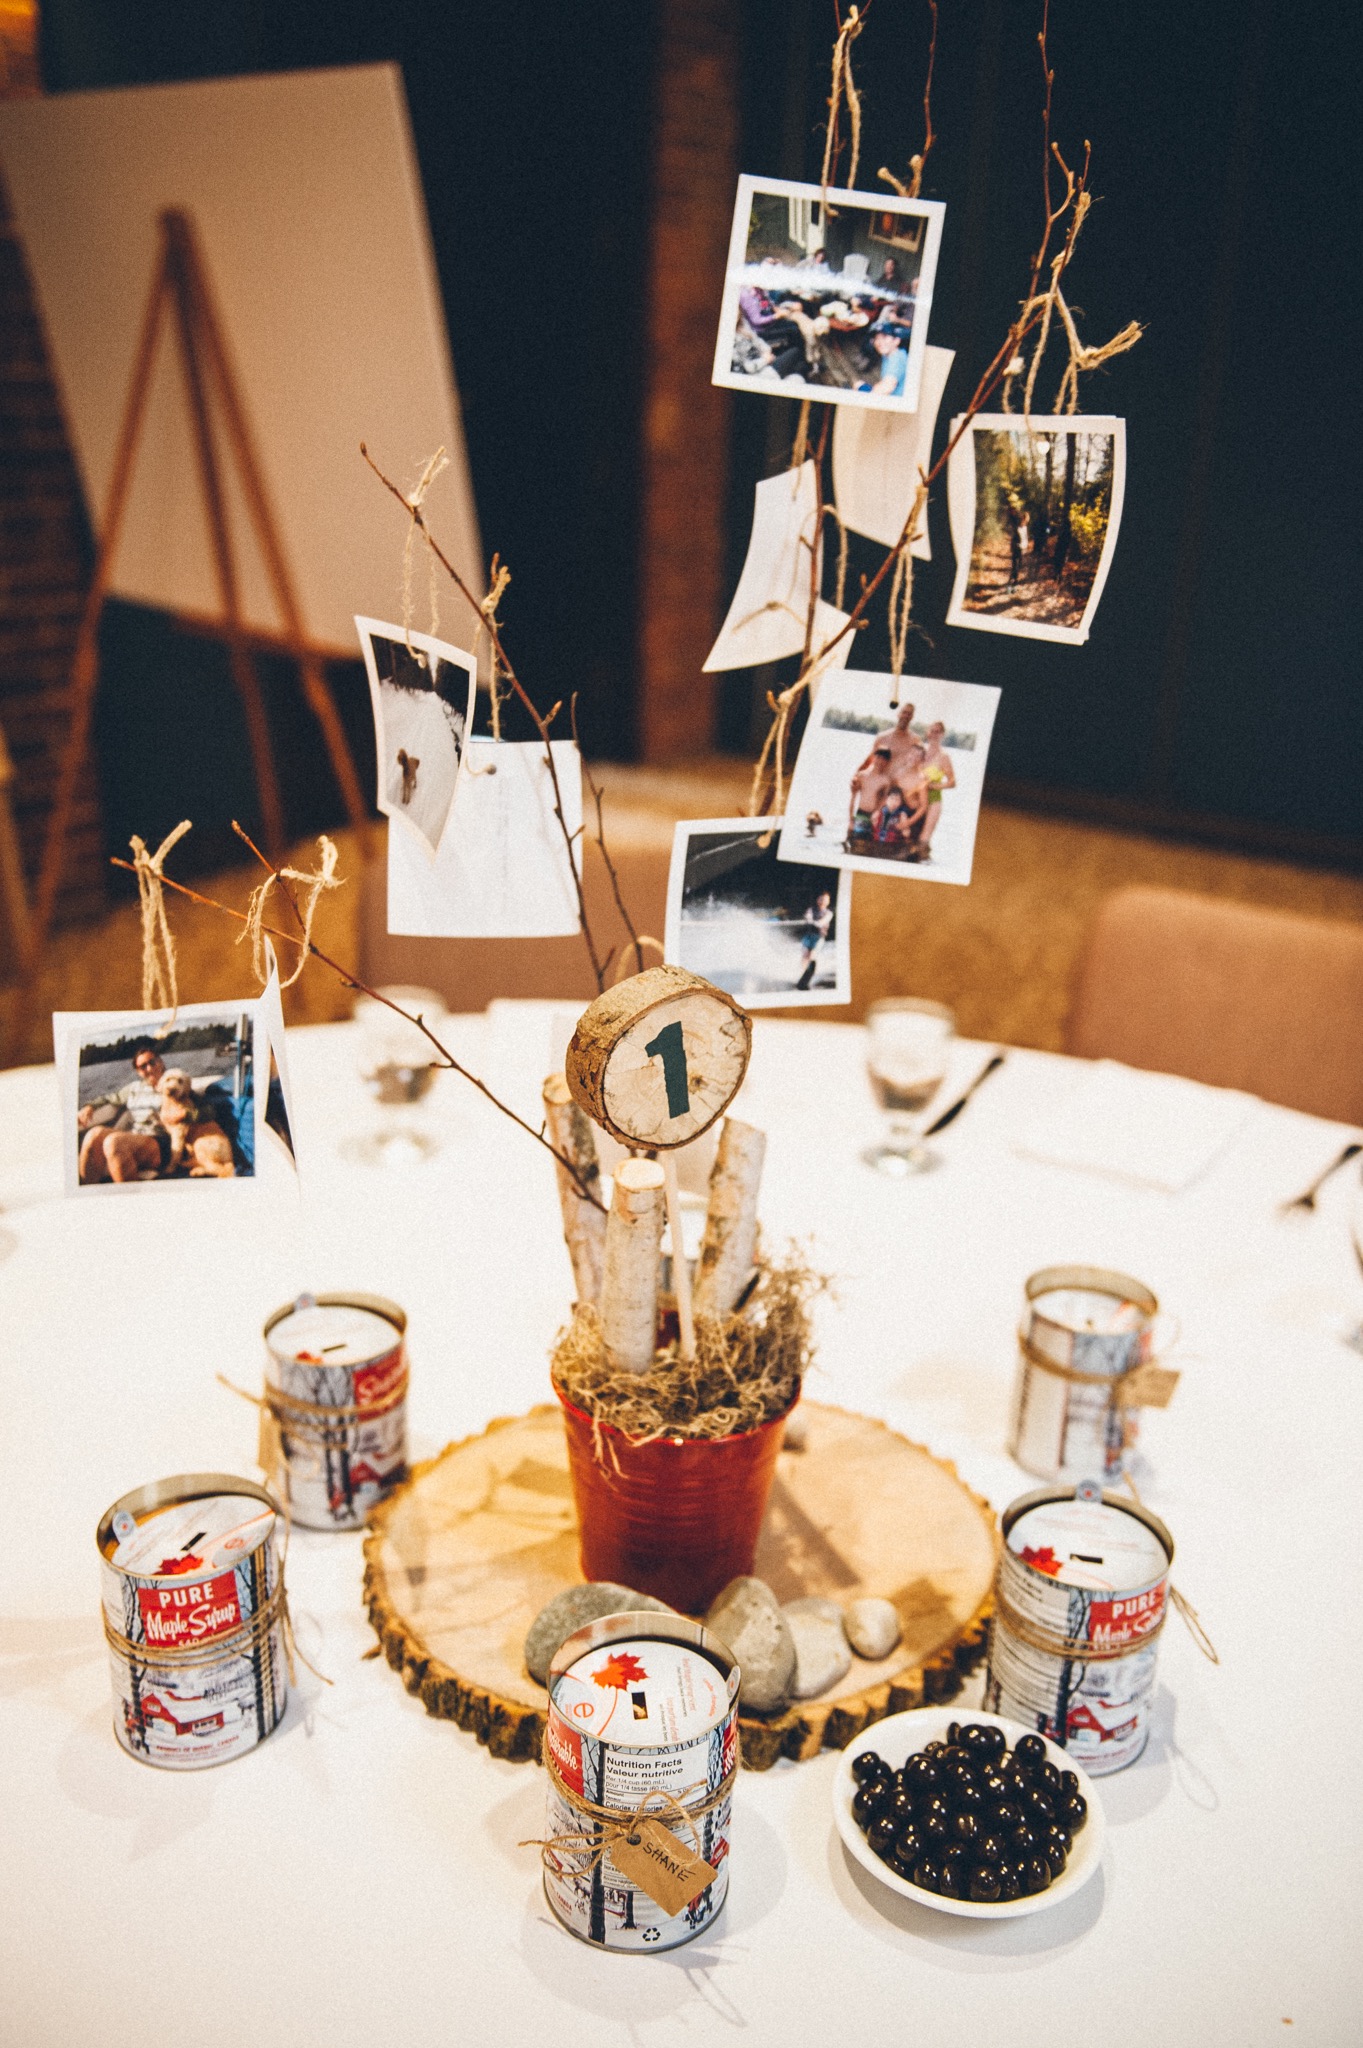
All the photos in the slide show were of the family at various family cottages in both summer and winter. Putting together that slide show was a labour of love. I also printed all the photos on to 4″ x 4″ paper, which were used as part of the centrepieces.
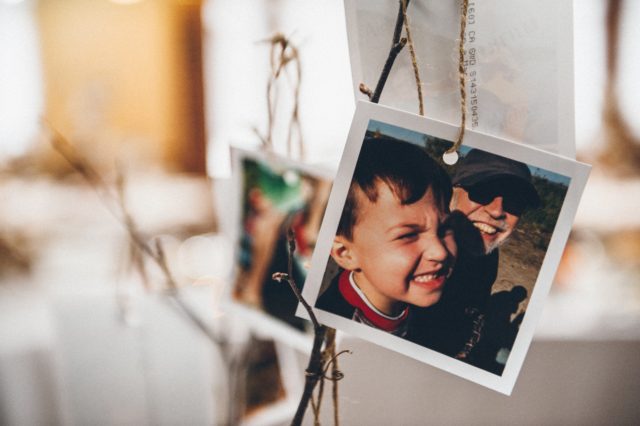
Each photo from the slide show was part of the centrepieces

My mother, my husband and I did an assembly line, punching holes into each photo and tying jute twine through the holes. These photos were then hung on the young birch branches in the centrepieces.

Speaking of the centrepieces–these were probably the cheapest DIY centrepieces ever and yet the most personal. I got little red socker plant pots at Ikea–there was a lot of red in the decor because that is my son’s favourite colour–filled them with pea gravel and off cuts of birch branches from my girlfriend’s cottage in North Bay, and the young birch branches were from my mom’s cottage on Georgian Bay.

We stood the pots on round wood “coins” that my husband cut with his chainsaw from fallen trees in the ravine in our neighbourhood. I just had to schlep them all to the car!

And the final touch were the rocks around the bottom of the pot, which were collected by me and my son from the harbour near my mom’s cottage.

So I think all told, we spent about $5 on each centrepiece and the biggest expense was the printing of the photographs.

The additional expense came with the guest keepsakes that I put on each table. These were maple syrup candles in tins. They certainly didn’t come cheap, but I thought it was important to give guests a small memento from the day as a thank you from us.
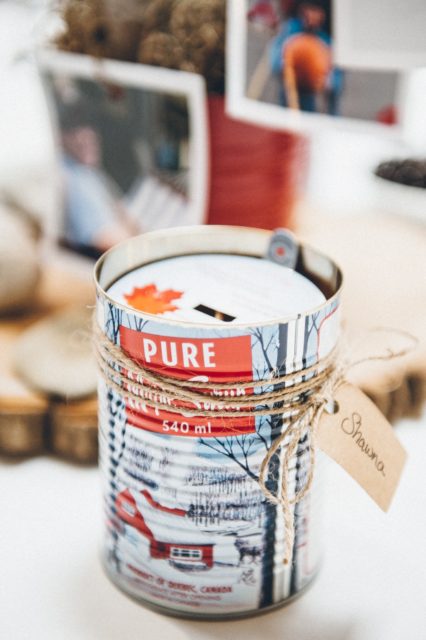
Each guest received a maple syrup candle as a memento

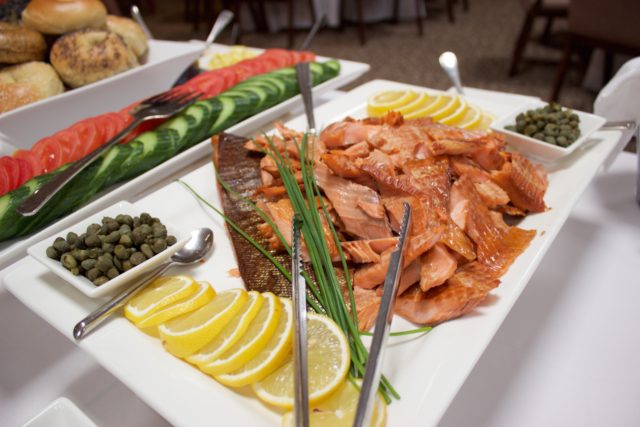
The brunch was delicious, catered by L-Eat. Niki and Tony did a fabulous job and the presentation of the food was simple and elegant. We made sure everything that was served were things we would typically eat for brunch: french toast with maple syrup, quiche, bagels with all the fixings, yogurt with granola and berries, and as a special treat we arranged to have smoked trout from Kolapore Springs trout farm up near my parents’ cottage.

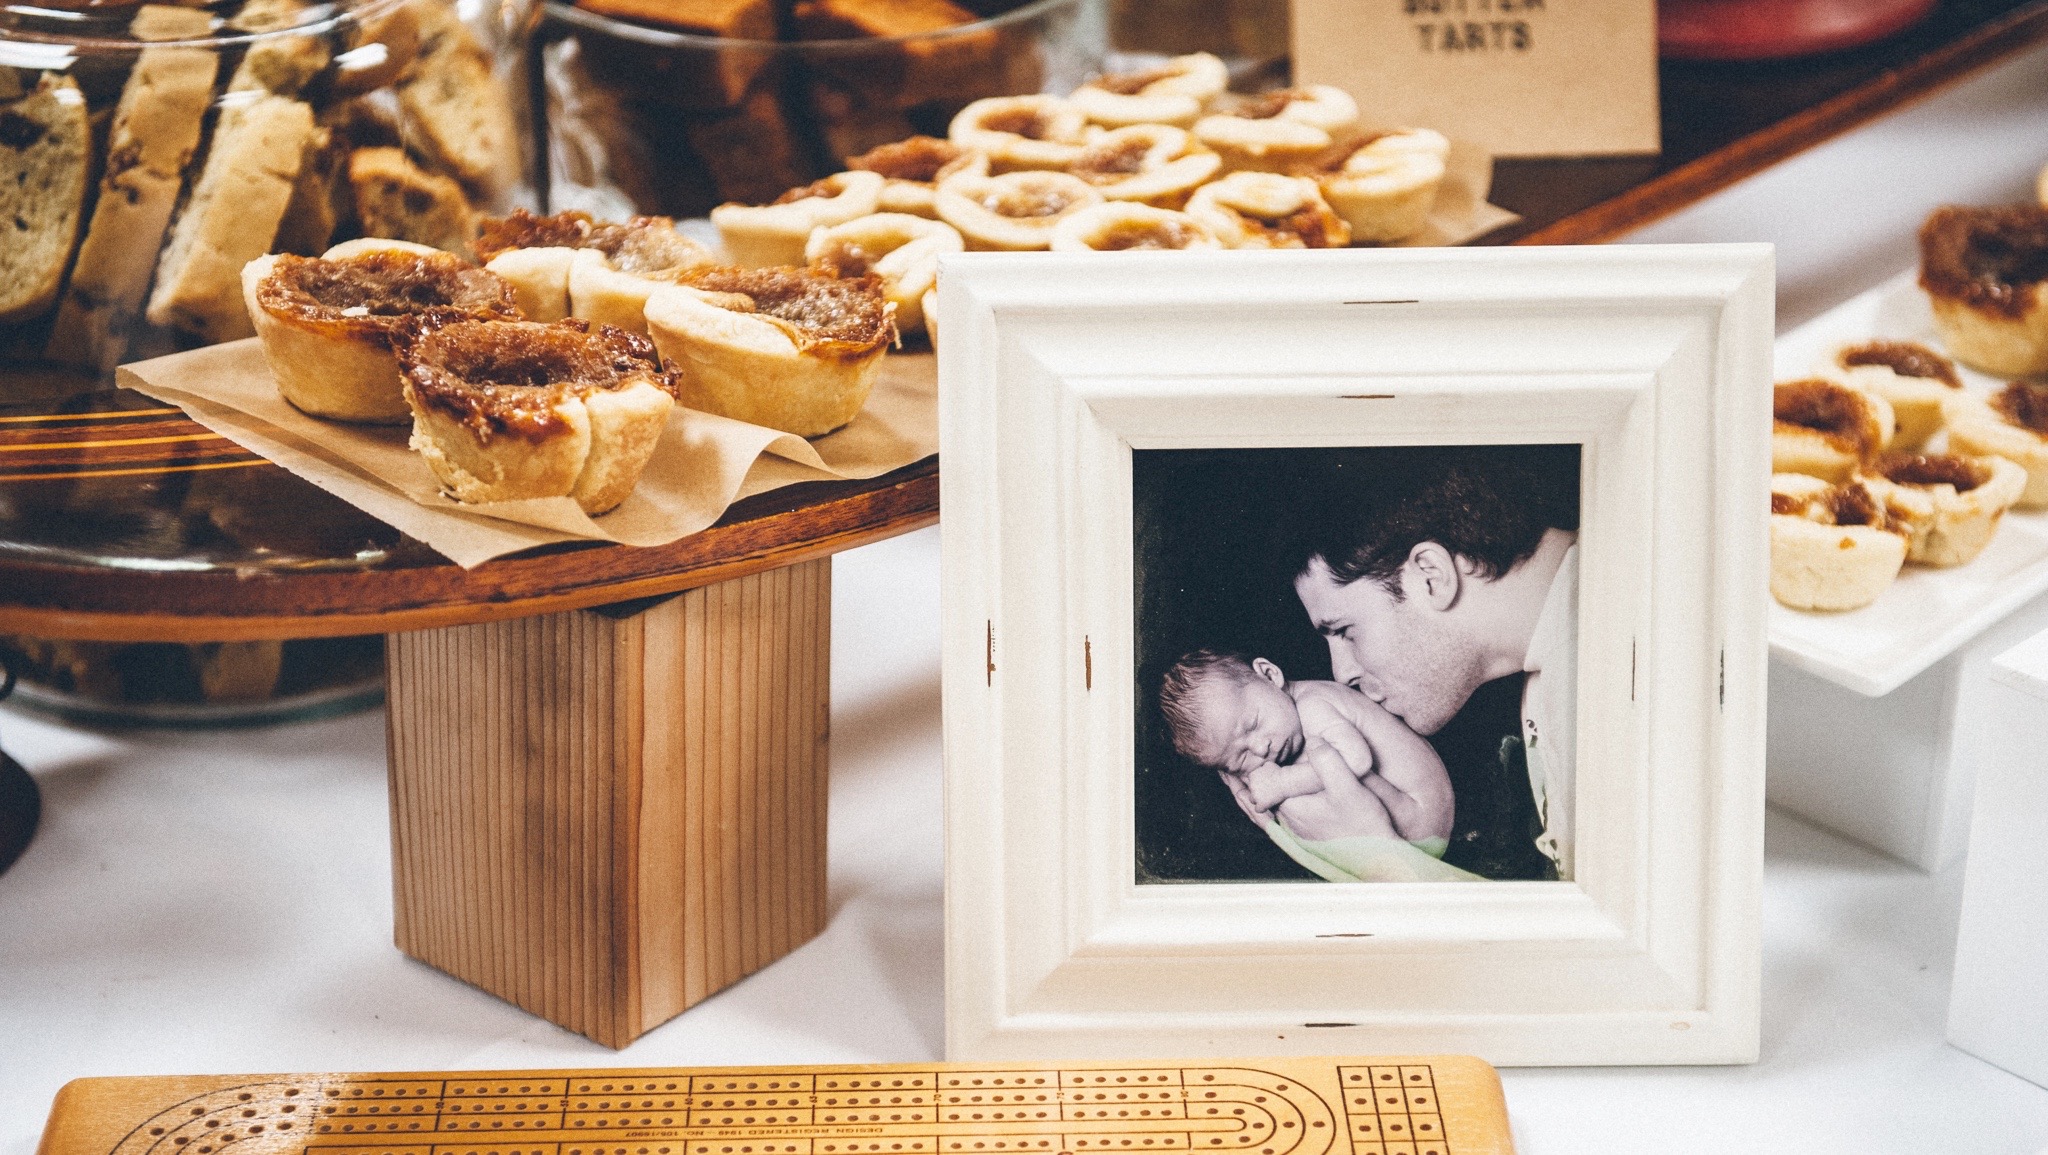
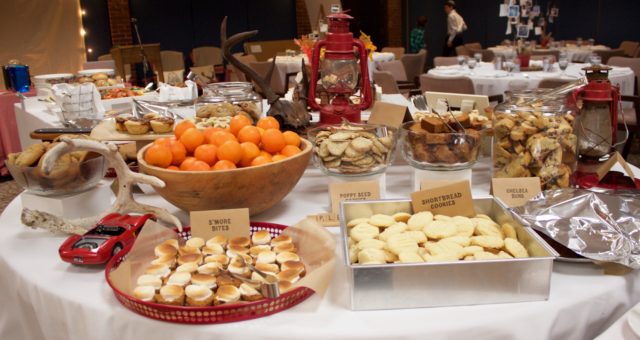
But the best part of brunch was the dessert table! This is where I truly got to showcase my baking skills, with the help of my mom, sister and mother-in-law. First, I decorated the table with objects that represented my son and the cottage–Scrabble pieces that said “Help Yourself”, antlers, a red model sports car, an old cribbage board, a vintage waterski, red oil lanterns, and a photo of my husband holding our son as a newborn.

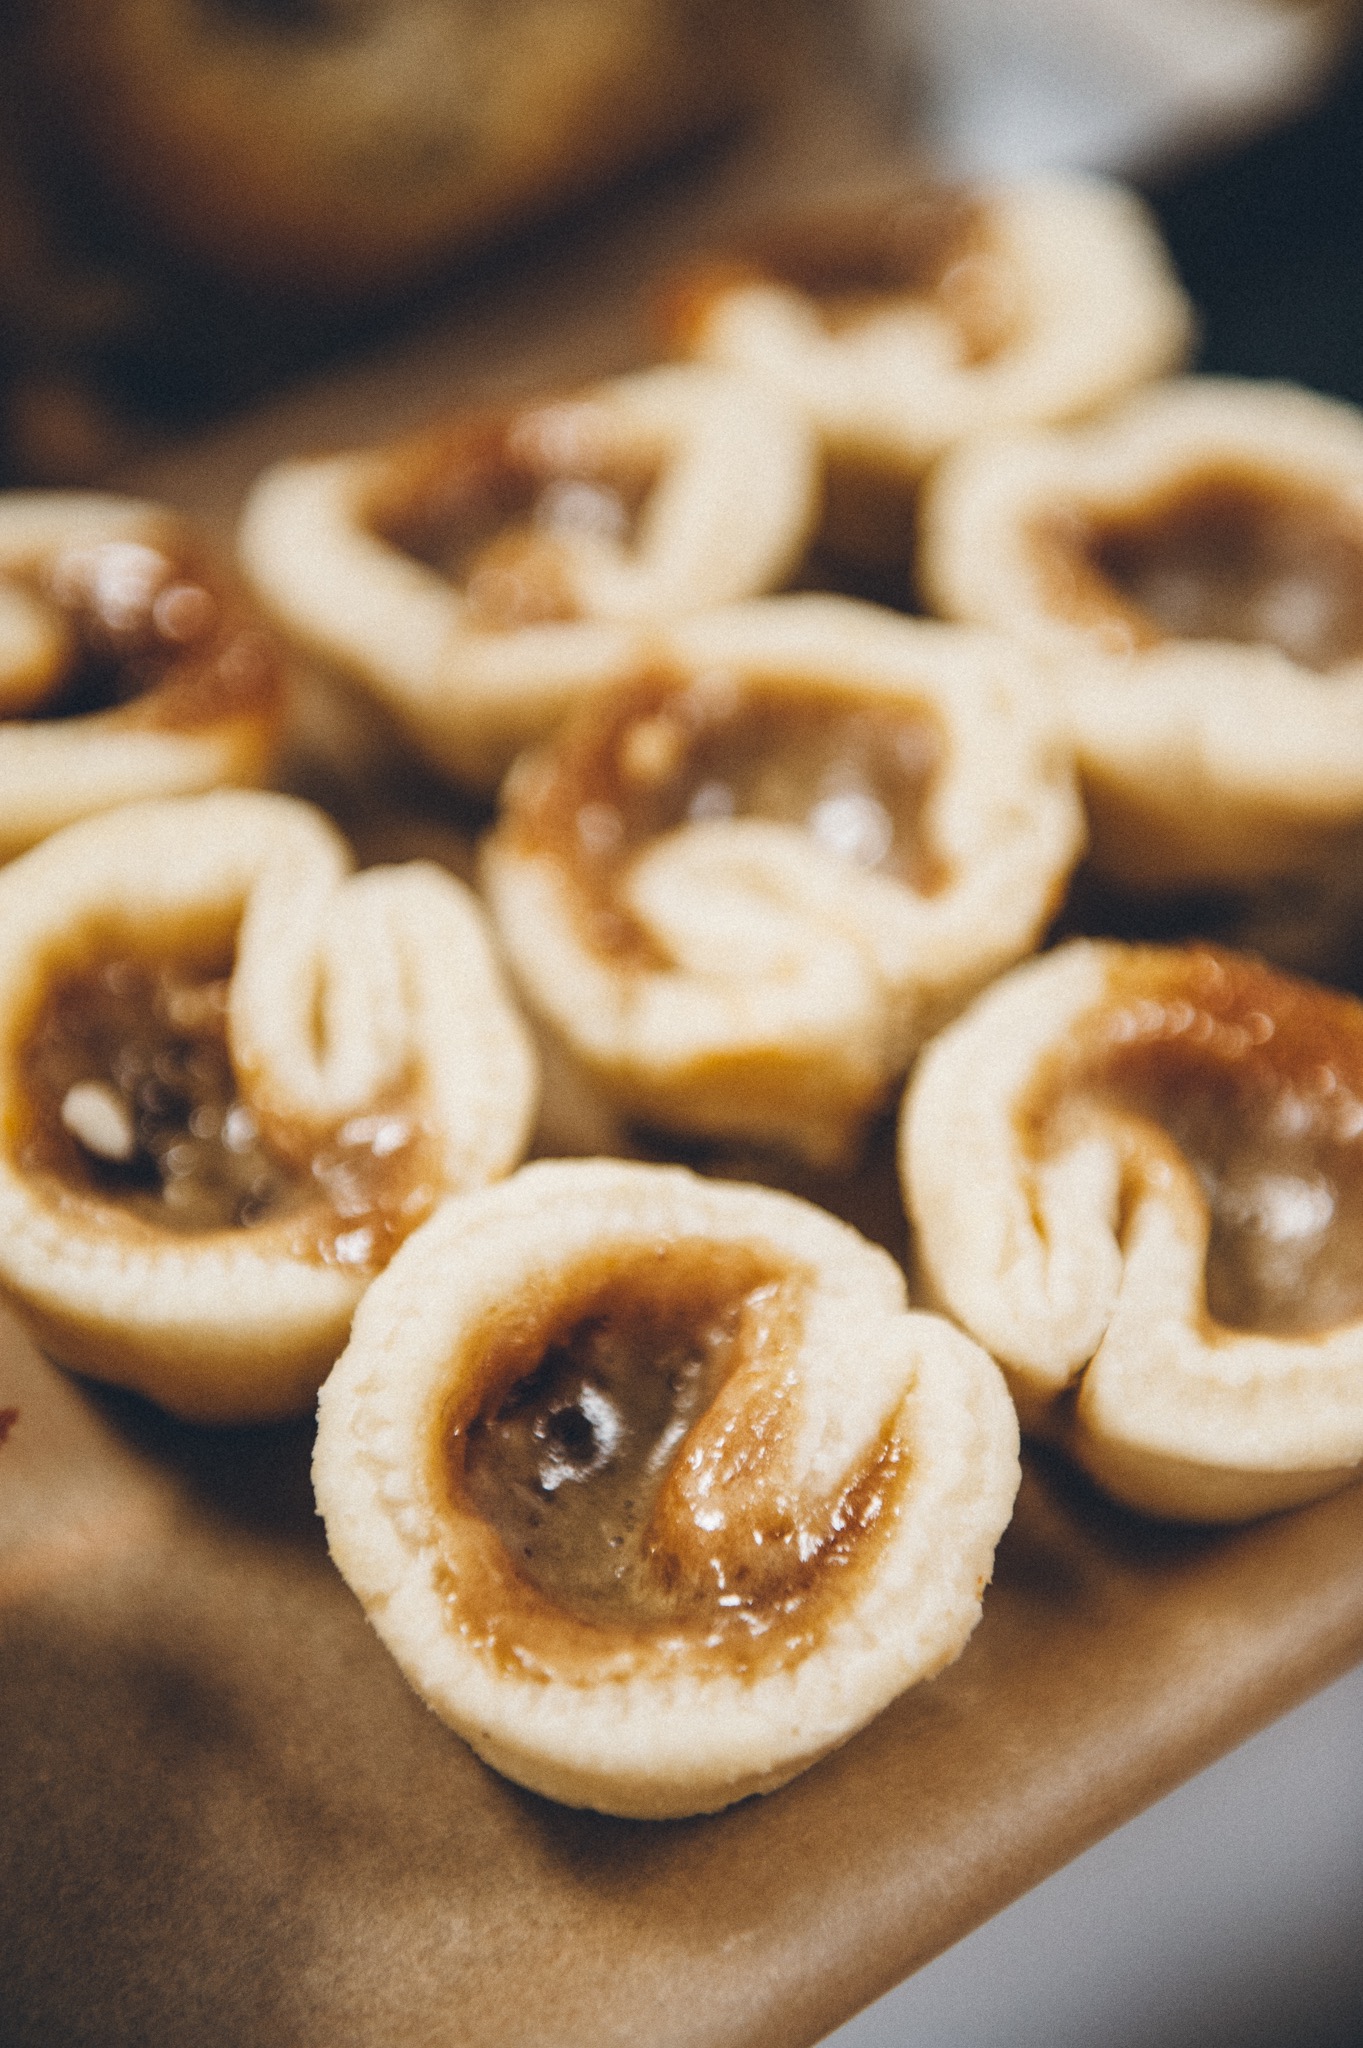
All the baked good were displayed on red tin trays, big glass cookie jars with red lids, even the waterski was used to display the homemade butter tarts.

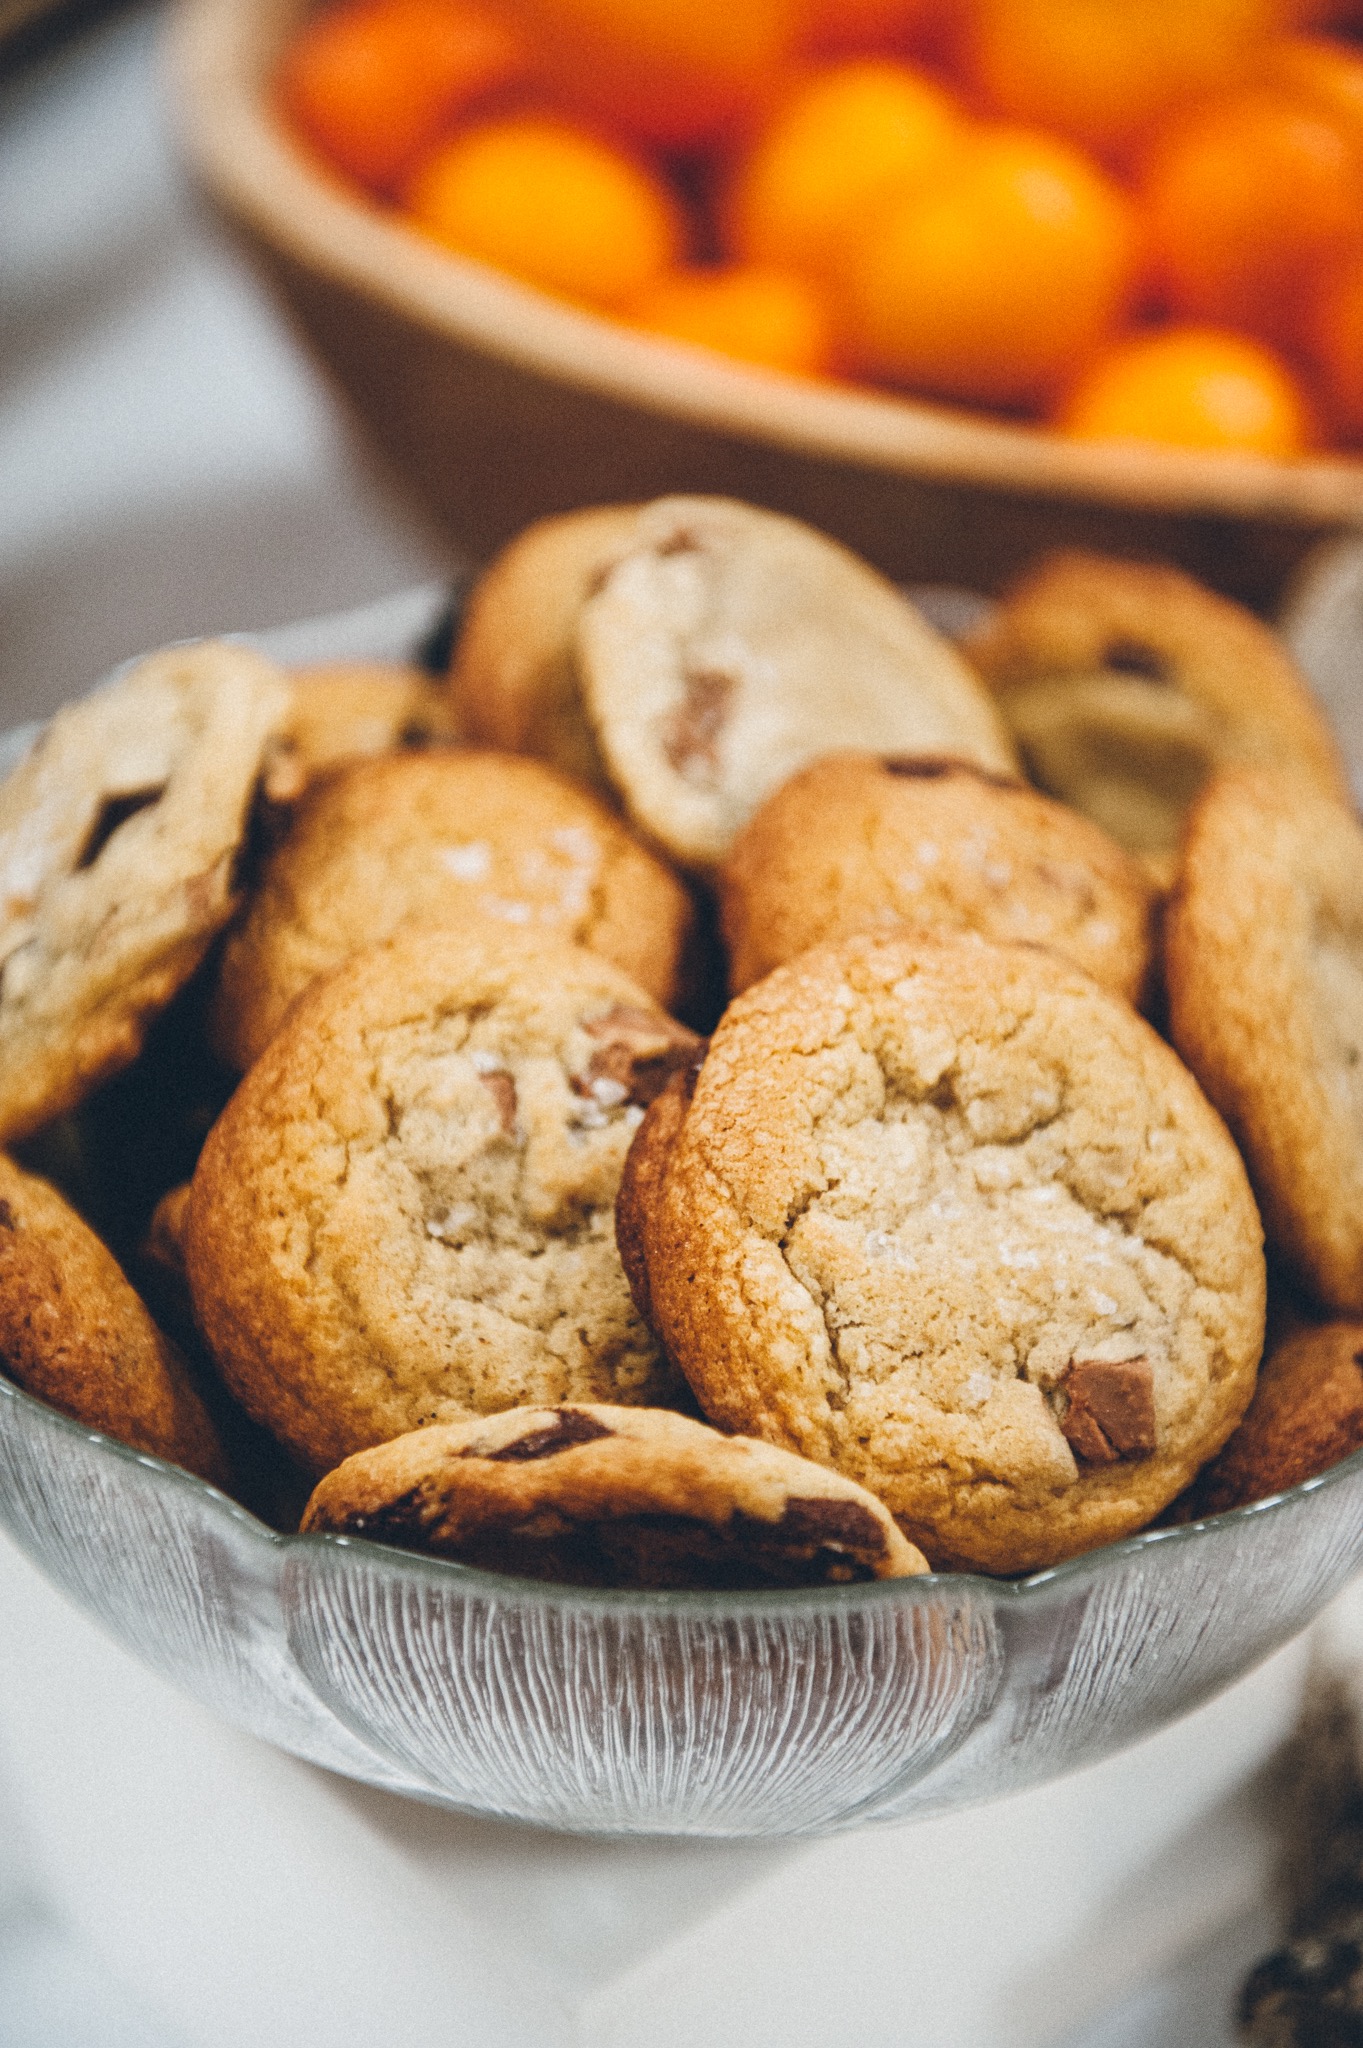
There were homemade salted chocolate chunk cookies, s’mores bites, butter tarts, honey cake, shortbreads, poppy seed cookies, ginger cookies and also chelsea buns from the Thornbury bakery (the only thing I didn’t bake!).
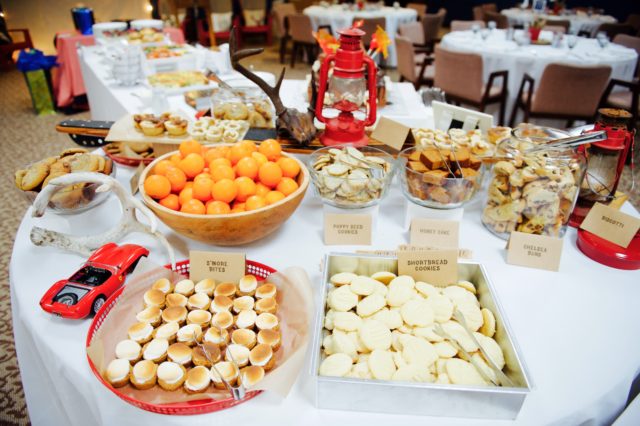
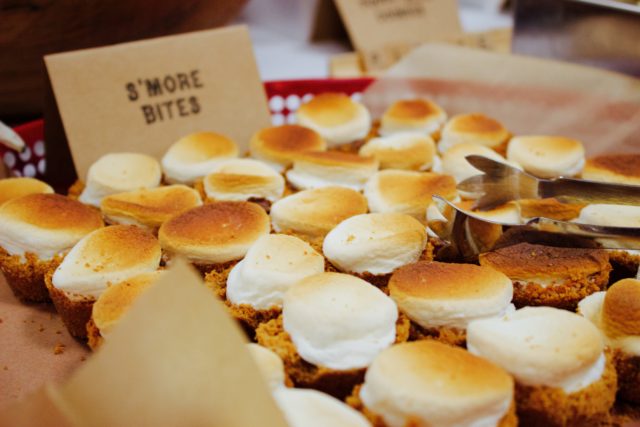
The Dessert Table


It wouldn’t be a celebration without a cake, right? Of course I baked a cake! It’s the giant, incredibly chocolatey cake recipe from Deb Perlman’s Smitten Kitchen. It’s the same cake I baked for my parents’ 40th wedding anniversary, except this time I made marshmallows, charred them and put them on the cake. I also made banana chocolate chip cake “logs” and I made flames from melted red and orange lollipops. A candy maker I am not!
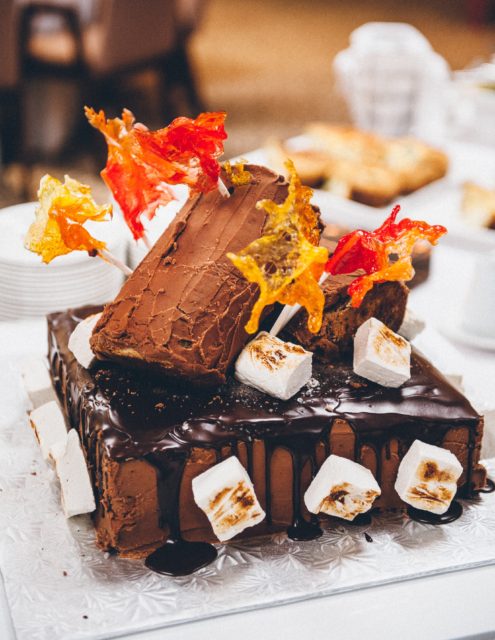
Campfire cake

I can’t say the cake turned out as nicely as I would have liked from a visual perspective, but it tasted damn good.

Credit for all the photos goes to Julius Ding of Julius and James Photography. This was their FIRST Bar Mitzvah photo shoot, and they really did capture the essence of the celebration, rather than the staged photos of the family and Bar Mitzvah boy that we all too often see. This was a celebration in real life and I’m so glad Julius was there to capture the moment.

There is so much more to tell you about the day because it didn’t end with the brunch! But I think I’ll save those details for another post. I’m starting to get tired just thinking about it again. Phew!

Feel free to contact me if you have any questions or want to learn more about what I did and how I did or where I got my ideas from.

New Theme, New Year (almost)

I decided to give this little pet project of mine a bit of a facelift with a new look. It’s cute, dontcha think? Very girly, which isn’t really me, but it’s easy on the eyes.

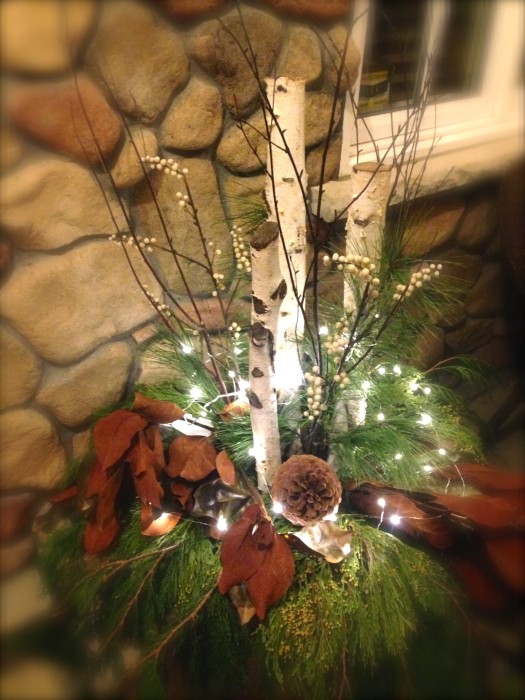
I don’t actually have much to tell you about right now so I thought I’d show off the planter at the front of my house. I’m proud to say that I’ve managed to use the same birch logs, some branches and the white berries in the arrangement for the last three or four years. I wish I could do the same with the evergreen boughs, but they just don’t last. Yes, very frugal of me.

New this year are the little battery operated LEDs, which I love, but seem to be rather unreliable. But you must agree, they really do complete the look, don’t they?

Winter evergreen planter arrangement with LED lights

Happy Holidays to you all during this unseasonably warm winter evening!

Wine and Cheese Party

It was my Dad’s 70th birthday this past week and to mark this amazing milestone my siblings and I planned a late afternoon wine and cheese party for him. 

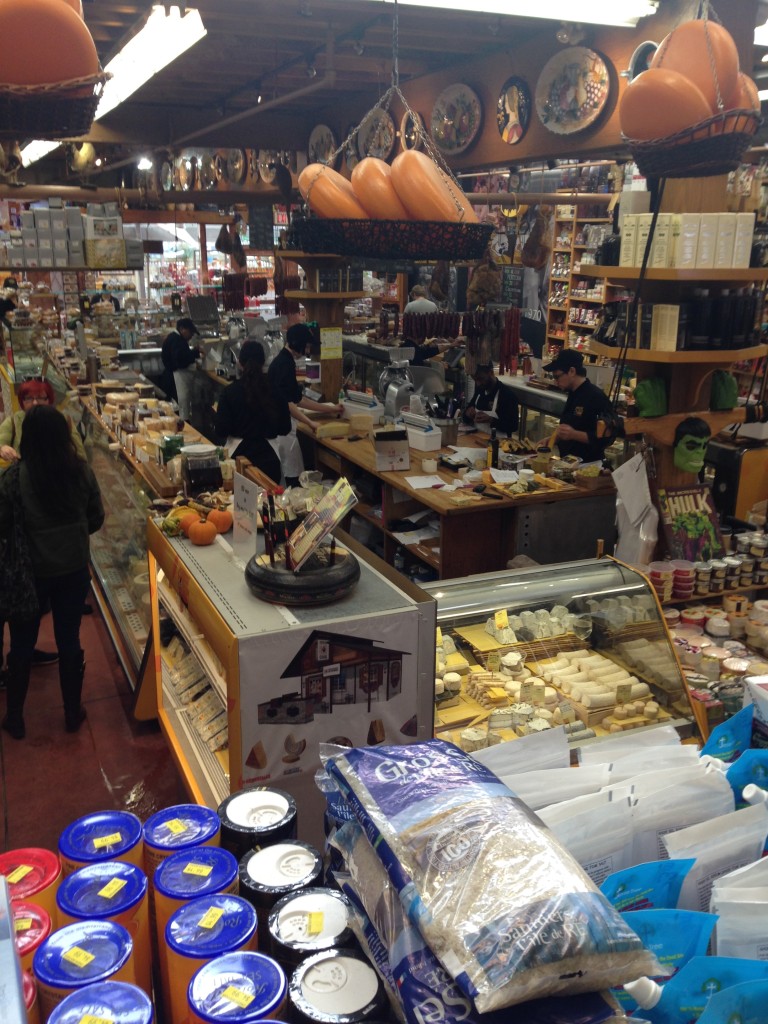
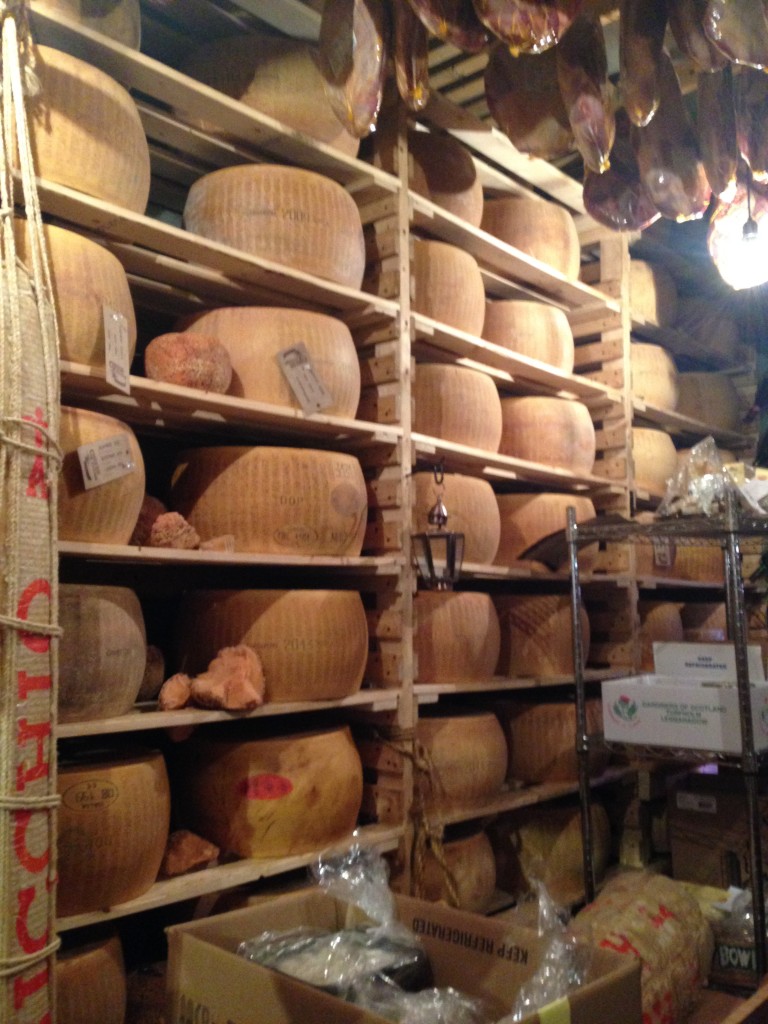
The offerings were meant to reflect my father in the foods that we chose. We did this by visiting The Cheese Boutique. It was my first time there and I can’t believe that in all the years I’ve lived in this city I have never been there! Better late than never. This place was like a wet dream for foodies. The first thing I saw when I walked in was a wall of mustards, followed by a wall of balsamic vinegars and a wall of oils. It was like walking through a maze  of rooms, each dedicated to foodstuff. Jams. Teas and Coffees. Pastas and grains. A cold meat “locker.” Fruit and Veg. A cheese fridge–the ceilings were hanging with cheese and legs of prosciutto. And then the maze opens up to a room with a large cheese counter, the perimeter of which is surrounded by yet more culinary delights. The wall of chocolate. Pastry and breads. Oh! My! Heaven!

The Cheese Boutique
The Cheese Boutique
The Cheese Refrigerator

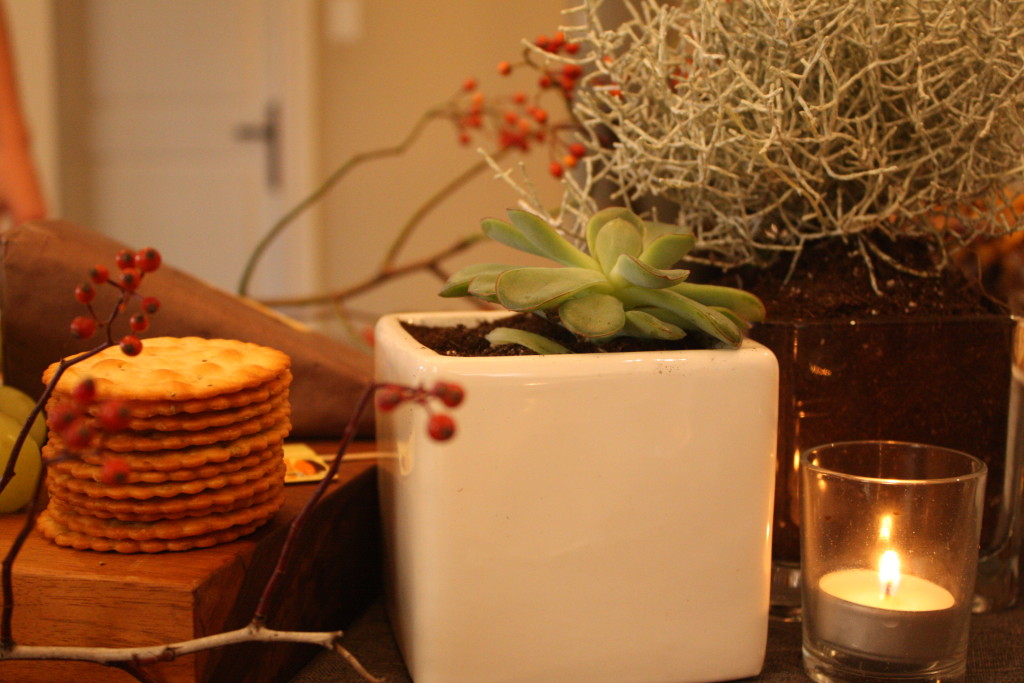
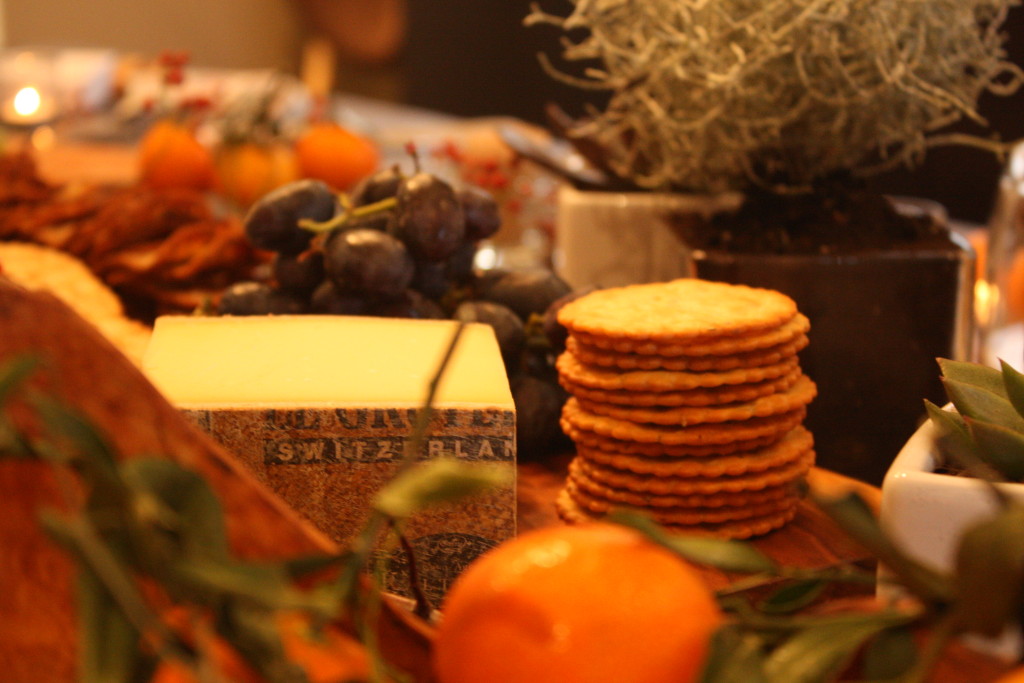
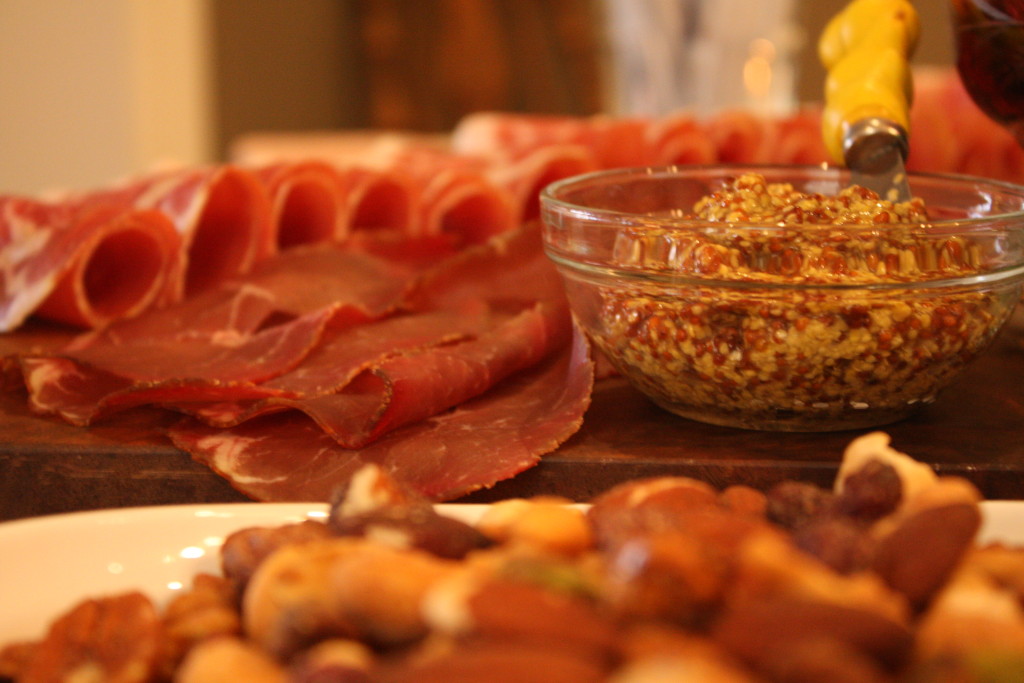
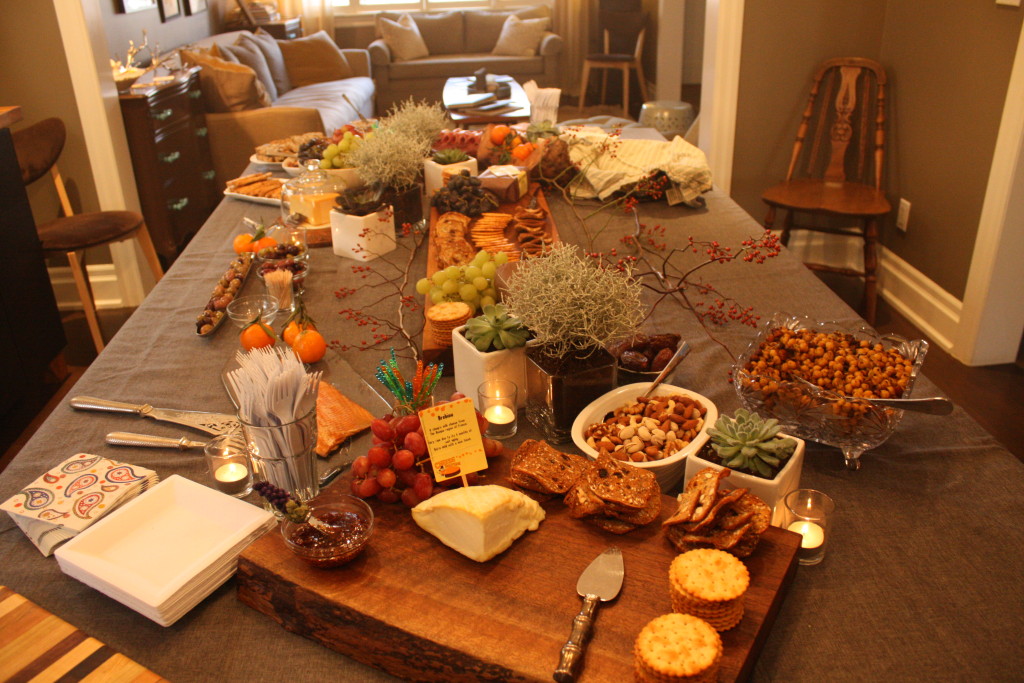
We got to sample some amazing cheeses and some charcuterie. These would be the centerpieces of our party. I started out by putting slabs of wood on the table that my brother-in-law had made. I decorated around these slabs with succulents and branches with berries and a few tea light candles to add some light. It was very Autumn-ish. Then came the food: cheese, meat, crackers, nuts, dried fruit, clementines, smoked fish, foie gras, fig jam, olives, gherkins, goat cheese, fresh figs, grapes. It was a veritable cornucopia of deliciousness. And it all got gobbled up! If you are looking for some inspiration, here are a few shots of the table.


Candles and plants interspersed with the food
Cheese and crackers
Cheese and crackers
Charcuterie
Charcuterie
The Whole Spread
The Whole Spread


Polka Dot Party

I wish I had more energy to put into this post but the truth is I’m pooped. So I’m going to keep it short and sweet.

I made yet another birthday party for my middle child–having all three kids with birthdays in the first quarter of the year is both a blessing and a curse. By the time this birthday rolls around every year I always say to myself and whoever will listen, “this is the time I do one of these.” Bu then of course next year arrives and I start planning out the cake, the decorations, the loot bags, the entertainment, the meal….

This year I combined the family and friends parties to kill two birds with one stone however this makes for a rather large and unwieldy party. We had a company that brings exotic animals to the house to teach the kids about the animals; where they are from, what they eat, etc. This kept the kids occupied for one hour. That only left one more hour of the party to survive  feed the kids, do the birthday cake and usher them out the door.

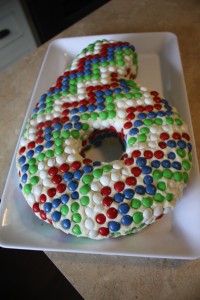
My middle guy wanted a Smartie number cake just like his big brother so I baked a few vanilla cakes, got out the big serrated knife and got to carving. Then I slathered on some yummy creamy cheese icing and embarked on the painstakingly long task of doing a chevron patterned decoration on the cake with Smarties (or chocolate gems as they are referred to at the bulk food store).

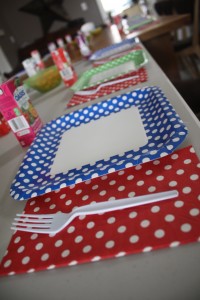
Picking up on the Smarties I decided to go with a polka dot theme for the table settings found at none other than Dollarama.

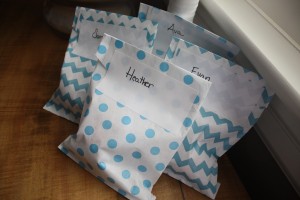
And this was all completed by polka dot and chevron printed loot bags that I scored at Creative Bag (that place is dangerous–I could spend a lot of money there). I kept it simple for the loot: Kinder Eggs bought in large quantity from Costco and a $5 gift card to Indigo. I figured this was both easy and pleasing loot for both parent and child.

Here are a few snaps of the big day.

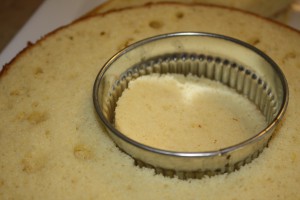
I made two 9# rounds and used a giant cookie cutter to cut out the centre to form the bottom of the number 6.
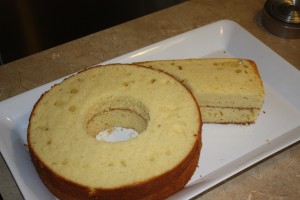
Here is the number 6 cake "in the raw" before applying icing.
Here is the number 6 cake “in the raw” before applying icing.


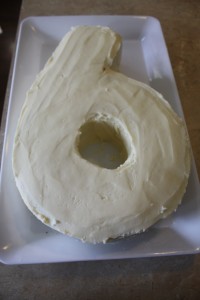
Here's the six cake with a thick coat of cream cheese icing.
Here’s the six cake with a thick coat of cream cheese icing.
And here is the coolest every chevron smartie six cake!
A view of the polka dot plates I scored Dollarama
And to cap it all off: polka dot and chevron loot bags!


A Room For Living

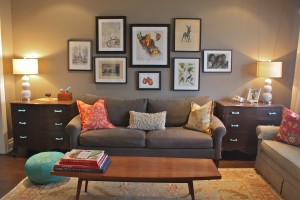
I used to hate my living room. It’s the first room you see when you walk in the front door and for some reason I didn’t consider it inviting nor did I think it had a cohesive look or a focal point. No matter what I tried nothing seemed to work. So I went back to the drawing board. Without a fireplace in the room or something for the eye to land on I had to create a focal point on the one long wall the room had. The couch acted as the anchor and to create some symmetry I flanked it with two matching sideboards we inherited from my husband’s grandmother. These are substantial pieces of furniture and lend the kind of weight the room needed. Since the couch is relatively modern I updated the sideboards by getting them sprayed a warm chocolately-brown and for fun I replaced the hardware with pale blue milk glass pulls. Sticking with the symmetry theme we put two matching cream lamps on the sideboards. The cream really pops against the grey-brown wall colour, which matches the couch perfectly!

Now back to that focal point; I decided to create a gallery of art work above the couch and that would be the focal point. Some of the pieces came from family while others are inexpensive prints. I think using all black frames gives the gallery a cohesive look without looking too contrived. We added to the gallery as we acquired the pieces and the only thing that ties all of them together are the frames.

A Room for Living

My favourite thing in the room is probably the carpet–a wool Sumak rug that I can only describe as a perfect marriage between traditional and contemporary. There are a multitude of colours in it–peach, aqua, taupe, burnt orange, forest green, cream….I picked fabric for the throw pillows based on the carpet and I had so much fun doing it!

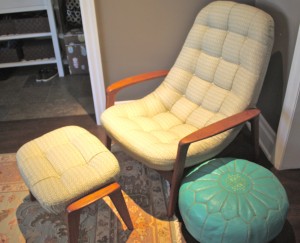
My husband’s biggest coupe was finding the Huber bucket chair and ottoman (made in Canada!) on Kijiji–from two different sellers no less. The original fabric was *hallucious* so I had to hunt down a durable fabric that honoured the era of the chair without being too hokey. I must admit the cream and green fabric wasn’t my first choice, but my husband liked it and since he found the chair I figured he could choose the fabric. I’ve got to hand it to him, it looks great and works really well with the rest of the furniture in the room. 

Huber bucket chair

We spend more time in this room now than we ever did before and I’m really pleased with the results. It’s eclectic, cozy and full of  family mementos. Now I love my living room.

acheter cialis sans ordonnance

Front Hall Fun

I have been trying to come up with a practical solution to my front hall entrance since the day we moved into our newly renovated home just over six years ago. I’ve tried a number of seemingly practical solutions to storage, seating and organization, but in our 4-foot wide entrance, it all ended up looking cluttered and, well, not pretty. So I had to find something practical and pretty that would satisfy our need to store keys, hats, shoes, gloves and other miscellany. I didn’t want to spend a fortune but I didn’t want to cheap out either and end up with yet another unsatisfactory solution.

So I started with the Norden occasional table from Ikea and had it sprayed in Cloud White. I found the brown woven strap baskets that hold all of our hats, gloves, sunscreen and other necessary but unsightly objets at HomeSense. The mirror hanging over the table is also from Ikea and works perfectly, given that sense of light and sparkle that the hallway really needed. My absolute favourite piece is the stool. I had it custom made by my upholsterer. Not only is it practical for putting on and taking off boots and shoes, but the fabric is so much fun! I found it on Etsy, but if you’re looking for it, it’s an Alexander Henry print and it’s called “What a Hoot!” and it certainly is a hoot. The other touches include oil rubbed bronze and porcelain hooks that I found at Restoration Hardware and the chocolate ticking runner is from Dash & Albert.

Welcome to our front hall

I know I spent a little more than I probably should have for an area of the house that takes a lot of abuse since it is essentially our Grand Central Station, but I love looking at it every time I walk by and I think first impressions are important. When a person walks through our front door that front hall sets the tone for the rest of the house. It’s fun, it’s relaxed and it’s our family’s way of saying “welcome to our home.”

Crafty Dreams

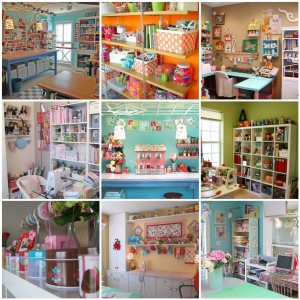
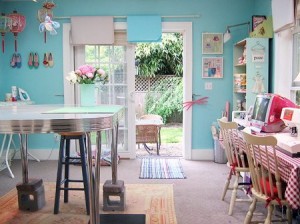
I’ve been reading this book called Craft Inc. Turn Your Creative Hobby Into a Business and it’s got me daydreaming about a life where my days are whiled away in a beautifully decorated craft room. In that beautiful room I’d be inspired to make precious heirloom baby quilts and hug pillows. I’d make a name for myself in the crafting world and people would seek out my wares. Some rich, famous and beautiful celebrity mama would be photographed on the pages of a mag with their celebrity offspring clutching one of my handmade blankies and then I could start charging top dollar for custom made blankies and hire a partner to adopt my techinques and share in the spoils….Alas, I am not independently wealthy and therefore unable to make this dream a reality (yet). But reading this book and looking at inspiring craft rooms, like that of Alicia Paulson , Jenny B’s All Sorts, FroggyMonkey or HappyZombie among others, is almost enough to make me get off my behind and create a special space for myself in my home. Well, one of these days my threats might actually convert from idle to real and I’ll follow through. In the meantime, I’ll enjoy the eye candy.

A mosaic of inspiring craft rooms
Alicia Paulson's Sewing Studio

Shelf Help

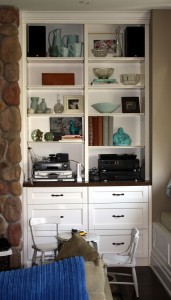
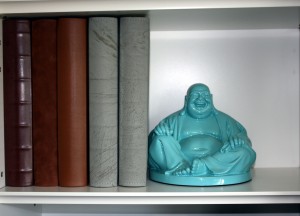
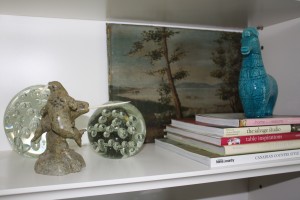
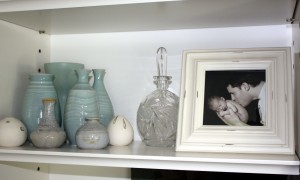
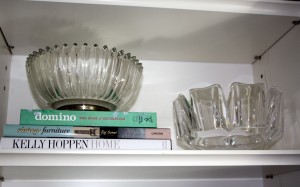
Cleaning a house can be gratifying for me in many ways; it gives me a sense of accomplishment, order and well, cleanliness. So for the last couple of days I have been on a cleaning rampage doing the daily chores of dishes, laundry, sweeping and even tidying up the garden. I even did some dusting, but that’s where the rampage got derailed. The built-in shelves in our family room are home to AV equipment, photo albums along with numerous tchachkas that I’ve acquired either from family members or various shopping expeditions. As I began to eradicate the perfect circles and lines of dust left behind by a bowl or book, I decided it was time to redecorate. Truth be told, I got my inspiration from Nate Berkus, who had recently been on Oprah and suggested going “shopping” in your home and move your favourite objects from room to room to create newly decorated spaces without spending a dime. So I took this sentiment to heart and began poking around the house, moving things from place to place until I had created a new vignette on my shelves.I stuck with my colour palette of celadon (which is watery bluey-green) and threw in some glass and crystal pieces along with some wood to warm it all up. I tried stacking books and even putting some artwork at the back of the shelves. The one of the top shelf was painted by my mother. The oil on the bottom left belonged to my father’s parents. My husband made me the wood box that’s sitting on the upper left shelf. The glass bowl on the books belonged to my mother’s parents and the other glass bowls were wedding gifts. There really is an art to “dressing” shelves, and I’m no pro, but I think my first attempt was not half bad. If you’ve got any advice on what to add, take away or change, by all means I value all opinions.

Decorating My Built-Ins
Laughing Buddha & Photo Albums
Artwork, objects & books
Pottery collection & photograph
Pretty crystal bowls & books