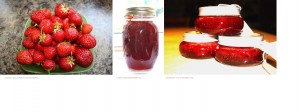
It’s that time of year again–the sacred few weeks when Ontario strawberries are in season. And that means it’s time to roll up my sleeves and make batches of sweet, yummy jam for everyone to enjoy–including the teachers. I always try and make the jam before the end of the school year so the boys can give jars of jam as gifts to their teachers.
If you have ever contemplated making jam but have been intimidated by the thought of it, don’t be. It’s the easiest thing ever. The only thing that might make you shy away is the steps involved–not many, but time consuming.
Before any jam making begins you must wash and sterilize your jars. It’s important to do this first otherwise your jam will start setting and you’ll be busy scrambling to get your jars ready.
First you have to wash and hull all the berries–probably the most time and labour intensive step in the process. You’ll also have a hard time resisting eating the berries as you wash them!
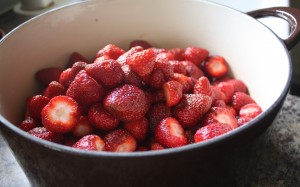
Crushing the berries is the next step. Up until this year I simply used a potato masher to do this. But I got a hand blender recently and used this to crush the berries–actually I turned them into a pulp which made for a very runny, smooth jam. If you prefer having chunks of berry in your jam, make sure not to crush them too much.
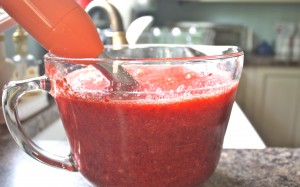
Next stir in the sugar. I like to use a product called Quick Set, which has some pectin in it already to help thicken the jam. If you want to know the berries-to-sugar ratio, it’s 1 kilo of sugar to 4 cups of *crushed* fruit but I just follow the directions on the bag.Â
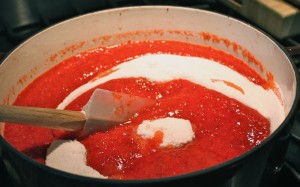
Now it’s time to cook up the jam. Over medium heat in heavy pot let the mixture cook for 5 to 10 minutes. A foamy pink “scum” will form on the top of the jam and you need to skim this off with a spoon. The jam will come to a rolling boil and once that’s happened your jam is finished cooking.
Next get your jars out. Fill the jars almost to the top–leave a few centimeters for air to escape. I use snap lids on my jars. Once filled, I pop the jars in boiling water making sure the water covers the top of the jars completely and let the water boil away for about 10 minutes. This is called processing and it’s necessary so you can store the jars without refrigerating them. You’ll know this step worked when you hear the lids literally “snap” when they are suctioned down. You’re done!Â
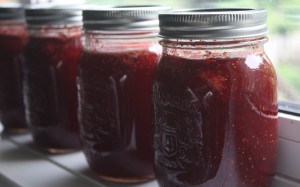
Now you can enjoy your jam slathered on a piece of fresh bread or crackers. Believe me, once you taste the jam you’ll realize it was worth all the effort.

